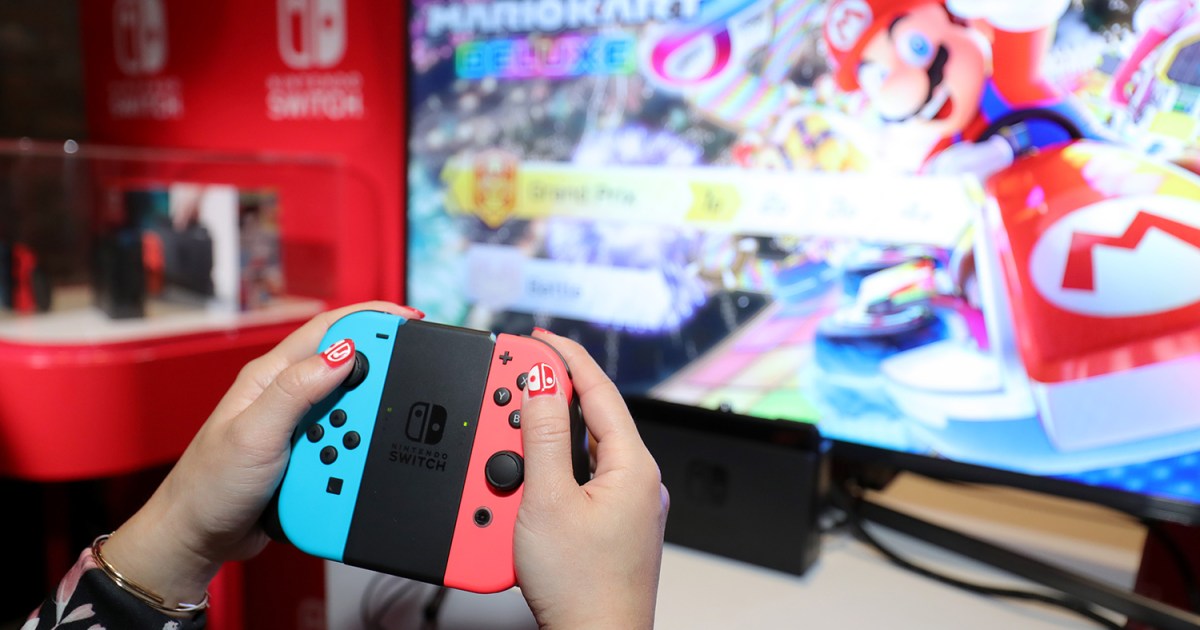
The Joy-Con have become an iconic part of the Nintendo Switch console. Not only can they connect to the Joy-Con grip to create a traditional controller, but they can also be attached to the sides of the console so you can play in handheld mode. For even more versatility, you can pass one on to a friend and participate in local multiplayer without having to rush out to buy a second gamepad. Joy-Con typically last around 20 hours before needing a charge – although if you game frequently, you’ll hit that threshold quite often. The same goes for the Switch Pro Controller, which offers a premium alternative to the standard Joy-Con.
Luckily, Nintendo has made it easier to charge a Nintendo Switch controller. Here’s how to charge a Nintendo Switch Joy-Con and Pro Controller and get back into the game. This includes tips for charging the Joy-Con while gaming, charging with an optional docking station, and more.
Image used with permission of the copyright holder
How to charge Joy-Cons
Using the Joy-Con Grip as your main Nintendo Switch controller will drain battery life faster than you realize. Luckily, there are several ways to charge it. The easiest way to charge the Joy-Con controllers requires no additional cables, accessories or shelf space.
Step 1: With the switch on, attach the Joy-Con controllers to either side of the console until they click into place. A notification should appear on the screen that the connection is established.
Step 2: Make sure the Switch’s docking station or power adapter is plugged into an electrical outlet. Either connect the adapter’s connector to the USB-C port on the bottom of the Switch or place the Switch in the docking station.
Step 3: Put your Nintendo Switch into “sleep mode” by pressing the power button at the top. The Joy-Con controllers will not charge when the Switch is completely turned off
Step 4: Wait! Nintendo estimates it will take about three and a half hours for the Joy-Con controllers to fully charge. To see how much charge you have, simply click on the Joy-Con icon in the Switch’s main menu and you’ll see the current charge level.
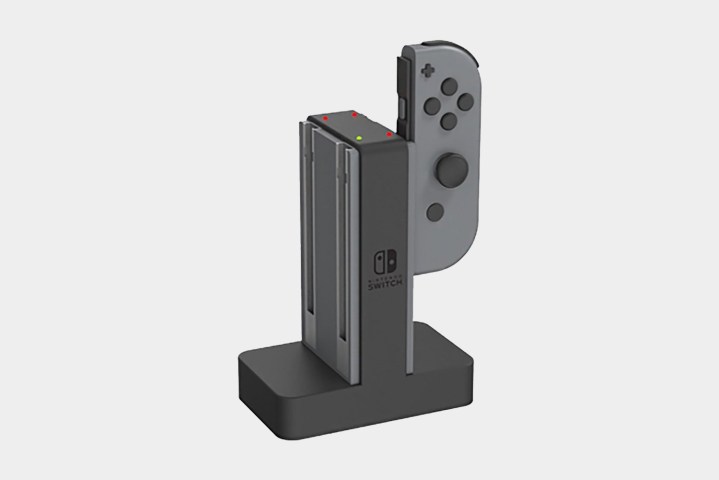
Image used with permission of the copyright holder
Use a charging station
If you prefer to use a charging station, the process for charging your Switch controllers is simple and you don’t have to leave your Switch on.
Step 1: For the Joy-Con charging station, plug the included cable into the USB port on the Switch docking station.
Step 2: Place up to four Joy-Con controllers in the dock and ensure the lights at the top are red. When they glow green, the controllers are fully charged.
How to charge Joy-Cons while gaming
Want to keep playing while charging your Nintendo Switch controllers? There are also a few ways to do this.
Step 1: Take a Nintendo Switch power adapter and plug it into a wall outlet with the cable still reaching where you will be playing and plug the USB-C end into the port on the bottom of the console.
Step 2: Connect the Joy-Con controllers and start playing! As long as the Switch is charging, the Joy-Con controllers will also be charged.
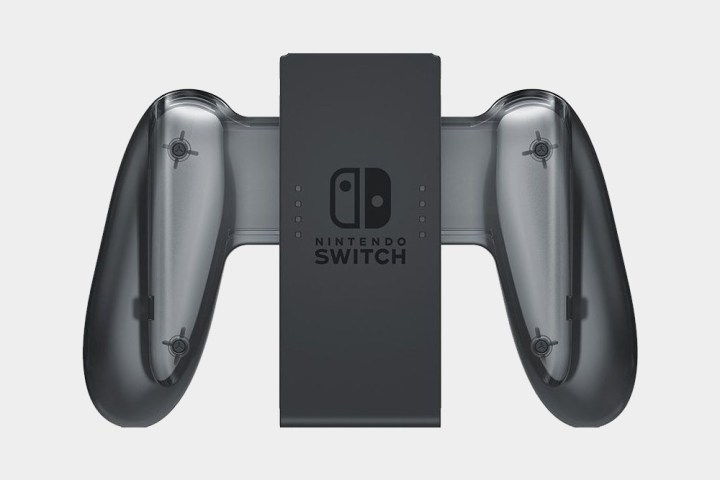
Image used with permission of the copyright holder
How to charge with the charging handle
If you want to play on the TV while your Nintendo Switch controllers are charging, you’ll need the Joy-Con charging grip. It has the same shape as the standard Joy-Con grip, but can be connected to your Switch dock to further charge the controllers while in use.
Step 1: Use the included cable to connect the charging handle to the Switch docking station. Then open the small slider at the top of the charging handle and insert your Joy-Con controllers before closing the slider.
Step 2: Play! Your controllers will now charge while you use your Switch.
How to charge with a charging case
The S-Charge is a Nintendo Switch charging case that features its own backup battery similar to portable USB chargers, allowing you to charge the Switch and connected Joy-Con controllers on the go.
Step 1: With the S-Charge itself charged (it can be connected to the Switch dock like a Pro Controller), press the power button on the left side.
Step 2: Lift the top door and attach the Switch with Joy-Con controllers. Then close the flap.
Step 3: Your controllers should now be charging! Tap on the Switch’s home menu Joy-Con icon to go to the controller page. It should show that the controller is connected to a power source.
Step 4: The S-Charge has a battery with more than twice the capacity of the Switch itself, meaning you can charge your Joy-Con controllers for hours this way without worrying about running out of battery on the case.
Step 5: When you are not using the S-Charge, make sure to turn it off by pressing and holding the power button for a few seconds. If you don’t, it could be dead the next time you need it.
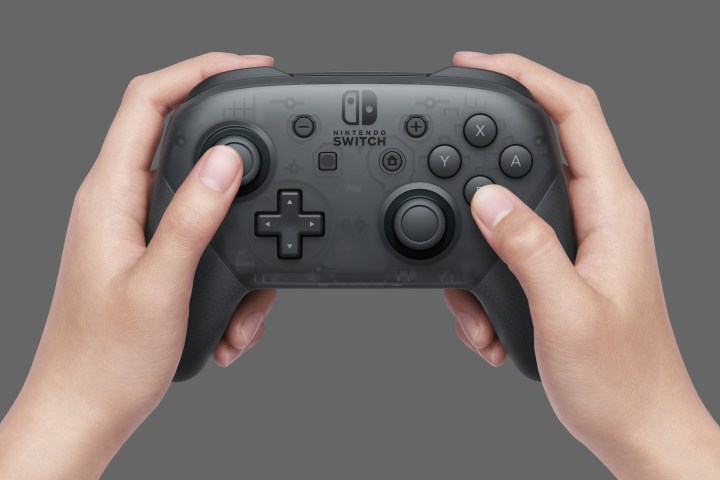
Image used with permission of the copyright holder
How to charge a Pro Controller
If you play your Nintendo Switch docked and use the TV, you should invest in a Pro Controller as the battery life is good, but you will still need to charge it after about 40 hours of play.
The easiest way to charge a Nintendo Switch Pro Controller is to connect it to the USB port on the front of the Switch’s dock using the included cable.
Step 1: Once connected, an orange light will illuminate at the top of the Pro Controller. It should take about six hours to fully charge. When the battery is full, the light goes out.
Step 2: You can still use the controller while charging, although the cable is too short for this to work in some setups.
Step 3: The Nintendo Switch does not need to be docked for the Pro Controller to charge. You can remove it at any time and play in handheld mode while waiting for the controller to charge.
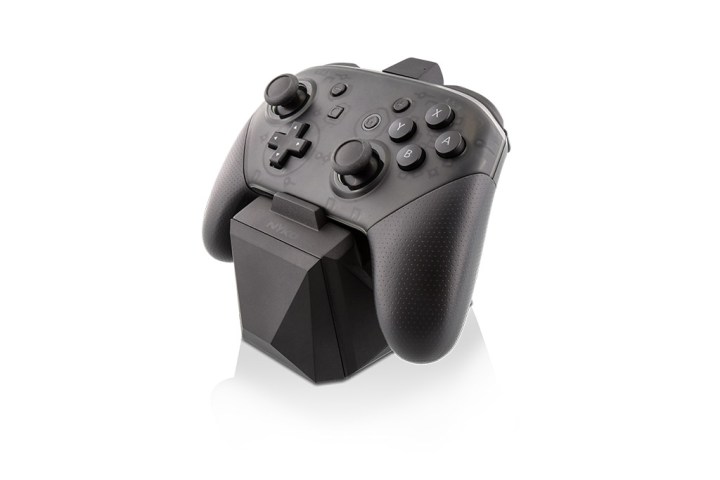
Image used with permission of the copyright holder
How to charge with a charging station
If you want to charge the Nintendo Switch Pro Controller without using the Switch dock, you can also use the Nyko Charge Block Pro for Nintendo Switch, which features a low-profile design that fits anywhere and uses a patented dongle system, which connects to a USB type-C port on your controller.
Step 1: Take the included charging dongle and plug it into the port on the top of your Pro Controller.
Step 2: Then take the USB cable (included) and connect it to the power adapter (also included) before plugging the power adapter into a power outlet.
Step 3: Now place your controller on the Charge Block Pro. The light on the front of the dongle should turn orange; This is your indicator that the charger is doing its job. When your controller is ready and charging is complete, the light will turn off.
The method for charging a Nintendo Switch controller largely depends on the brand and model of device a gamer is using. The proprietary Joy-Con controller, for example, charges differently than other devices.
Nintendo Switch controllers charge at different speeds. The time required to refuel depends on the equipment used – some items simply recharge faster than others. Other factors may play a role in your controller’s charging rate. For this reason, it’s best to try out different cables, switch modes, and more to find which setup works best for you and your preferences.
Luckily, finding Switch accessories is pretty easy. If you’re hoping to get back into gaming quickly, you can always consider purchasing a backup controller to use while the other one charges.
frequently asked Questions
How do I know if my Nintendo Switch controller is charged?
To find out if your Nintendo Switch controllers are charged, simply click on the Joy-Con icon in the Switch’s main menu and you’ll see the current charge level.
How do you charge a Switch controller without a dock?
To charge your Switch controllers without a dock, you can:
- Plug it into your Switch, plug the console’s power adapter into the wall, put your device into sleep mode, and wait three and a half hours.
- Use a charging handle that allows you to play on the TV while the Joy-Cons charge. Simply use the included cable to connect the charging handle to the Switch’s docking station, then open the small slider at the top of the charging handle and insert your Joy-Con controllers before closing the slider.
Editorial recommendations